
Seasonal Bench Care: A Month-by-Month Guide for UK Outdoor Benches
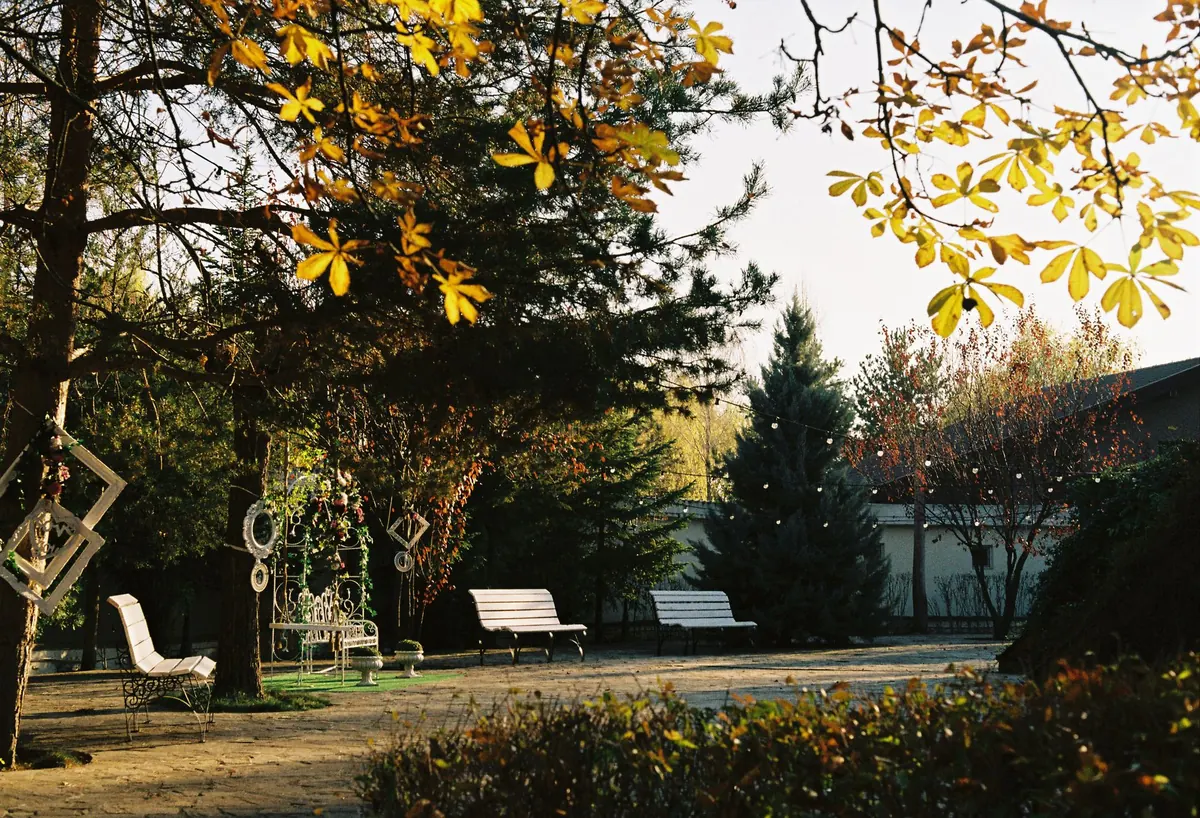
A garden bench takes more punishment than almost any other piece of furniture you own. It sits through driving rain, baking sun, hard frost, bird droppings, tree sap and the occasional over-enthusiastic barbecue guest. Left alone, even a well-made hardwood bench will grey, crack and loosen at the joints within a few years. A little attention spread across the year is usually enough to keep it comfortable, safe and good-looking for a decade or more.
What follows is a month-by-month plan built around the British weather rather than the calendar alone. Treat it as a rhythm: clean and inspect in spring, touch up in summer, protect in autumn, shelter in winter.
How the UK Climate Shapes Your Bench Care
Our weather is rarely extreme, but it is almost always damp. That is the real enemy. Timber that stays wet grows algae and mould, joints swell and shrink, and metal fixings corrode long before the wood itself gives up. Wind-driven rain finds its way under loose covers too, so cheapskate plastic sheeting can do more harm than good by trapping moisture against the surface.
Timing matters as much as technique. Oils, stains and preservatives need mild, dry conditions to soak in properly. Most products want temperatures above roughly 10°C with a dry forecast for the next day or two, so read the tin before you commit. Dense hardwoods such as teak, iroko and robinia hold up well and may only need feeding every other year. Softer timbers, painted benches and budget pine models generally want an annual going-over.
March to May — Clean, Inspect, Treat
Start with a proper clean
Brush off loose debris, then wash the whole bench with warm water and a squirt of washing-up liquid, working along the grain with a stiff nylon brush. Rinse well with a hose. Avoid blasting it with a pressure washer on full power: the jet forces water into joints, lifts the grain and can strip a finish you then have to redo.
Green or black patches are usually algae or mildew. A dedicated wood cleaner, or diluted white vinegar applied with a cloth, will usually shift them. Test on a hidden patch first, especially on coloured or stained timber.
Then inspect and repair
Run your hand over the seat slats and armrests. Sand any rough patches or splinters with 120-grit paper, following the grain. Check every bolt, screw and dowel; tighten what has worked loose and swap rusty fixings for stainless steel ones, which last far longer outdoors.
Once the bench is thoroughly dry, apply your chosen oil or stain in two thin coats rather than one thick one. Wipe off any excess after fifteen minutes or so. Oil left pooling on the surface turns tacky and attracts dirt.
June to August — Sun, Sap and Small Repairs
Summer is mostly about small habits. UV light bleaches timber and dries it out, which is what causes fine surface cracks. Bird mess should be softened with water and wiped away rather than scraped off dry. Tree sap comes off with a cloth dampened with white spirit, again testing first.
If you use seat cushions, bring them in overnight and during showers; damp foam is what turns a cushion musty. Turn them regularly so one side does not fade. On metal benches, touch up any chipped paint straight away with a matching colour and finish with a coat of car wax to slow corrosion.
September to November — The Season That Matters Most
If you do only one job all year, make it this one. A treatment in late September or October gives the timber a barrier before the wet months arrive. Sweep fallen leaves off the seat and out of the frame, since damp leaves stain and hold moisture against the wood.
Look at where the bench meets the ground. Legs standing directly on soil or grass rot first, because they never dry out. Stand them on paving, gravel or proprietary feet pads, and pull the bench away from fences and walls so air can move around it.
Choose covers carefully
- Use a breathable, purpose-made bench cover rather than a plastic tarpaulin.
- Make sure the cover is taut and properly tied down, so it does not flap and rub the finish.
- Lift covers on dry, breezy days to let trapped moisture escape.
- Never cover damp timber; let it dry first.
December to February — Protection, Storage and Frost
Do not apply oil or stain in frosty conditions; it will sit on the surface rather than soak in. Brush snow off with a soft broom rather than letting it settle, because repeated freezing and thawing is hard on joints and finishes.
Keep de-icing salt away from wooden benches and their fixings, as it draws moisture and corrodes metal. Sand or grit is a safer choice on nearby paths. If you have a folding bench, a slatted metal one or somewhere dry to put it, moving it into a shed or garage for the worst of the winter will add years to its life. Cushions and parasols should be indoors, not in a damp shed.
After any named storm, walk the garden and check the bench for movement. Catching a loosened joint in January is far cheaper than replacing a leg in June.
The Month-by-Month Quick Reference
- March: first wash of the year, check for winter damage.
- April: sand rough spots, tighten fixings, apply first treatment.
- May: second coat if needed; fit or refresh cushions.
- June: clean bird mess and sap, touch up metal paint.
- July: rotate cushions, check for loose bolts.
- August: light clean; plan your autumn treatment.
- September: clear leaves, deep clean, prepare timber.
- October: main protective treatment before the rain.
- November: fit breathable cover, check ground contact.
- December: store what you can, brush off snow.
- January: post-storm inspection, keep salt away.
- February: air covers on dry days, plan spring repairs.
Getting Into the Habit
None of this takes long. Fifteen minutes in spring, half an hour in autumn and the odd glance after a storm is usually enough. Put the treatment date in your phone alongside the other seasonal jobs, and buy your oil or stain in September before the garden centres empty their shelves.
If a joint has failed structurally, a welded frame has cracked, or rot has worked deep into a leg, it is worth talking to a joiner or metal fabricator rather than patching it yourself. For everything else, a brush, a cloth and a dry afternoon will do.
Photo: Cosmin ChiWu / Pexels